


In previous article we learned about creating a new Spring boot application using Spring Initializr.
In this article we will learn how to create REST controller in our application.
Step 1:
Open the application which we have created in our previous article.
Follow the below steps:
- Create a new folder
controllerinside the packagecom.techopaths.springboot.demo - Right click on springboot folder -> new -> folder.
- Type
controlleras name.
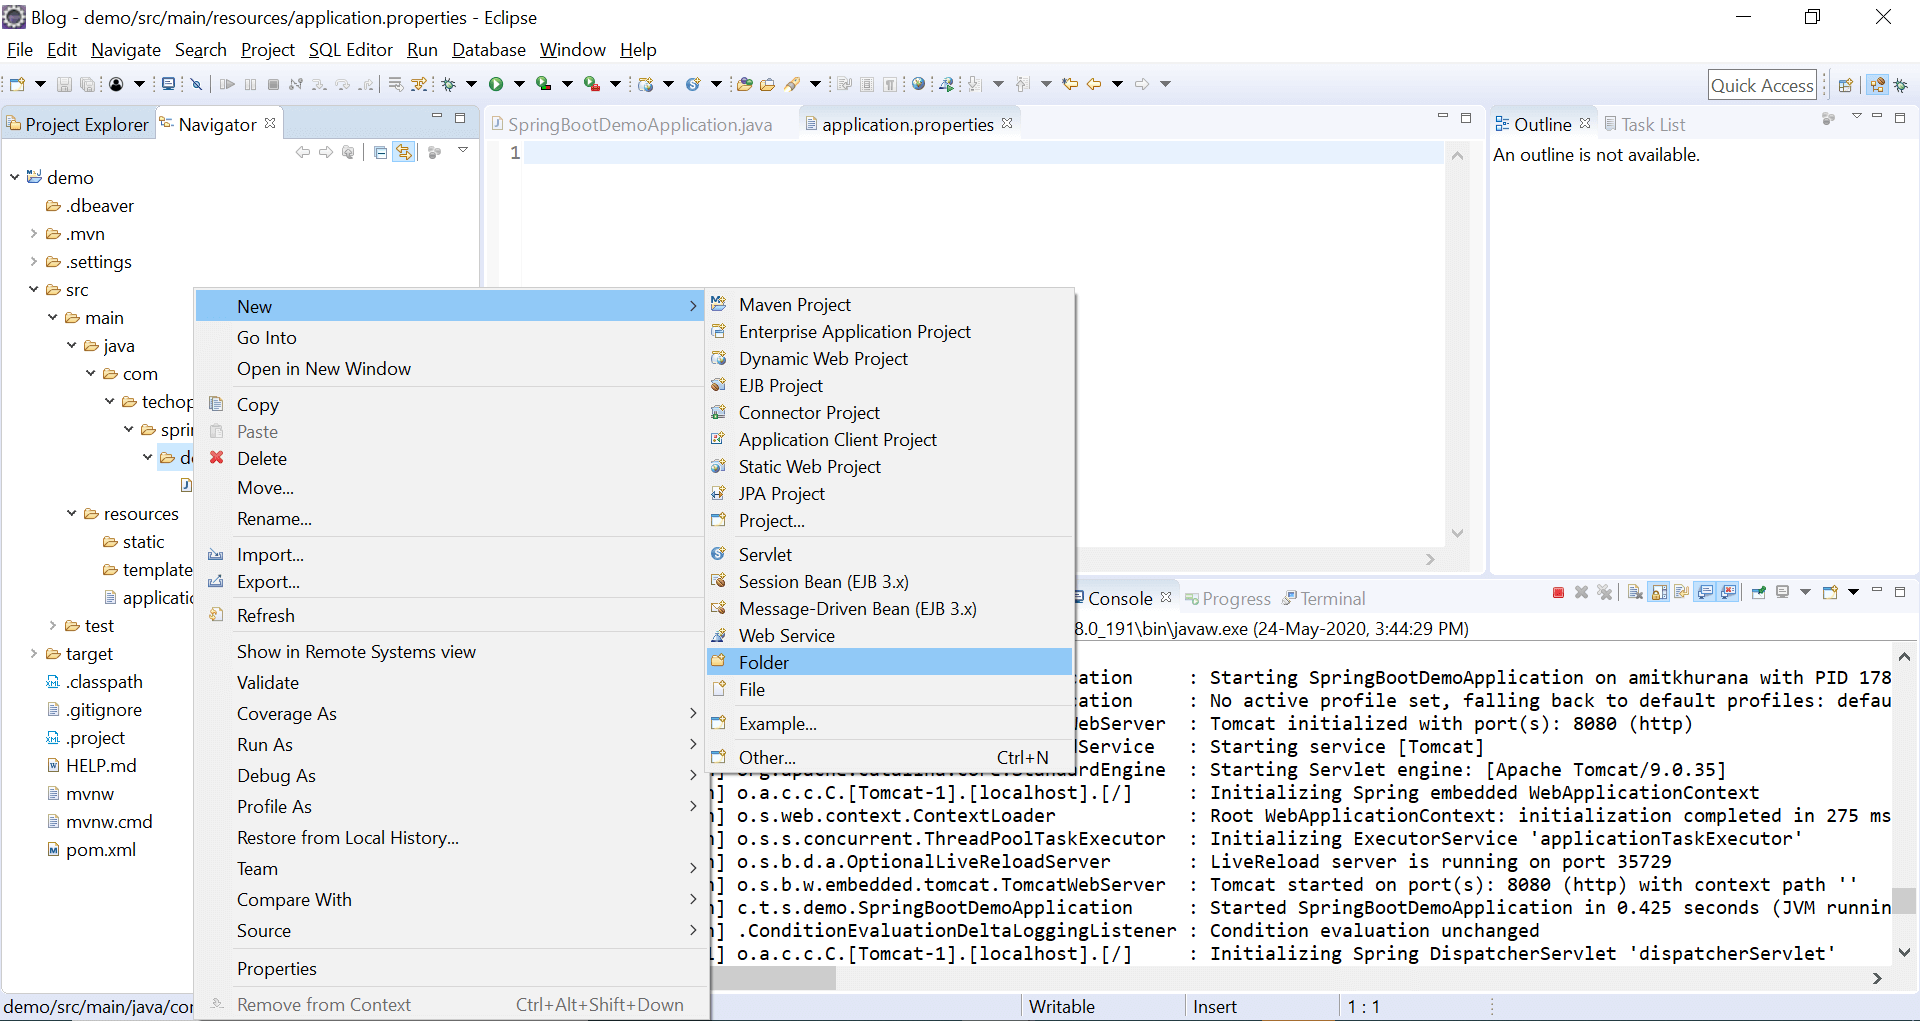
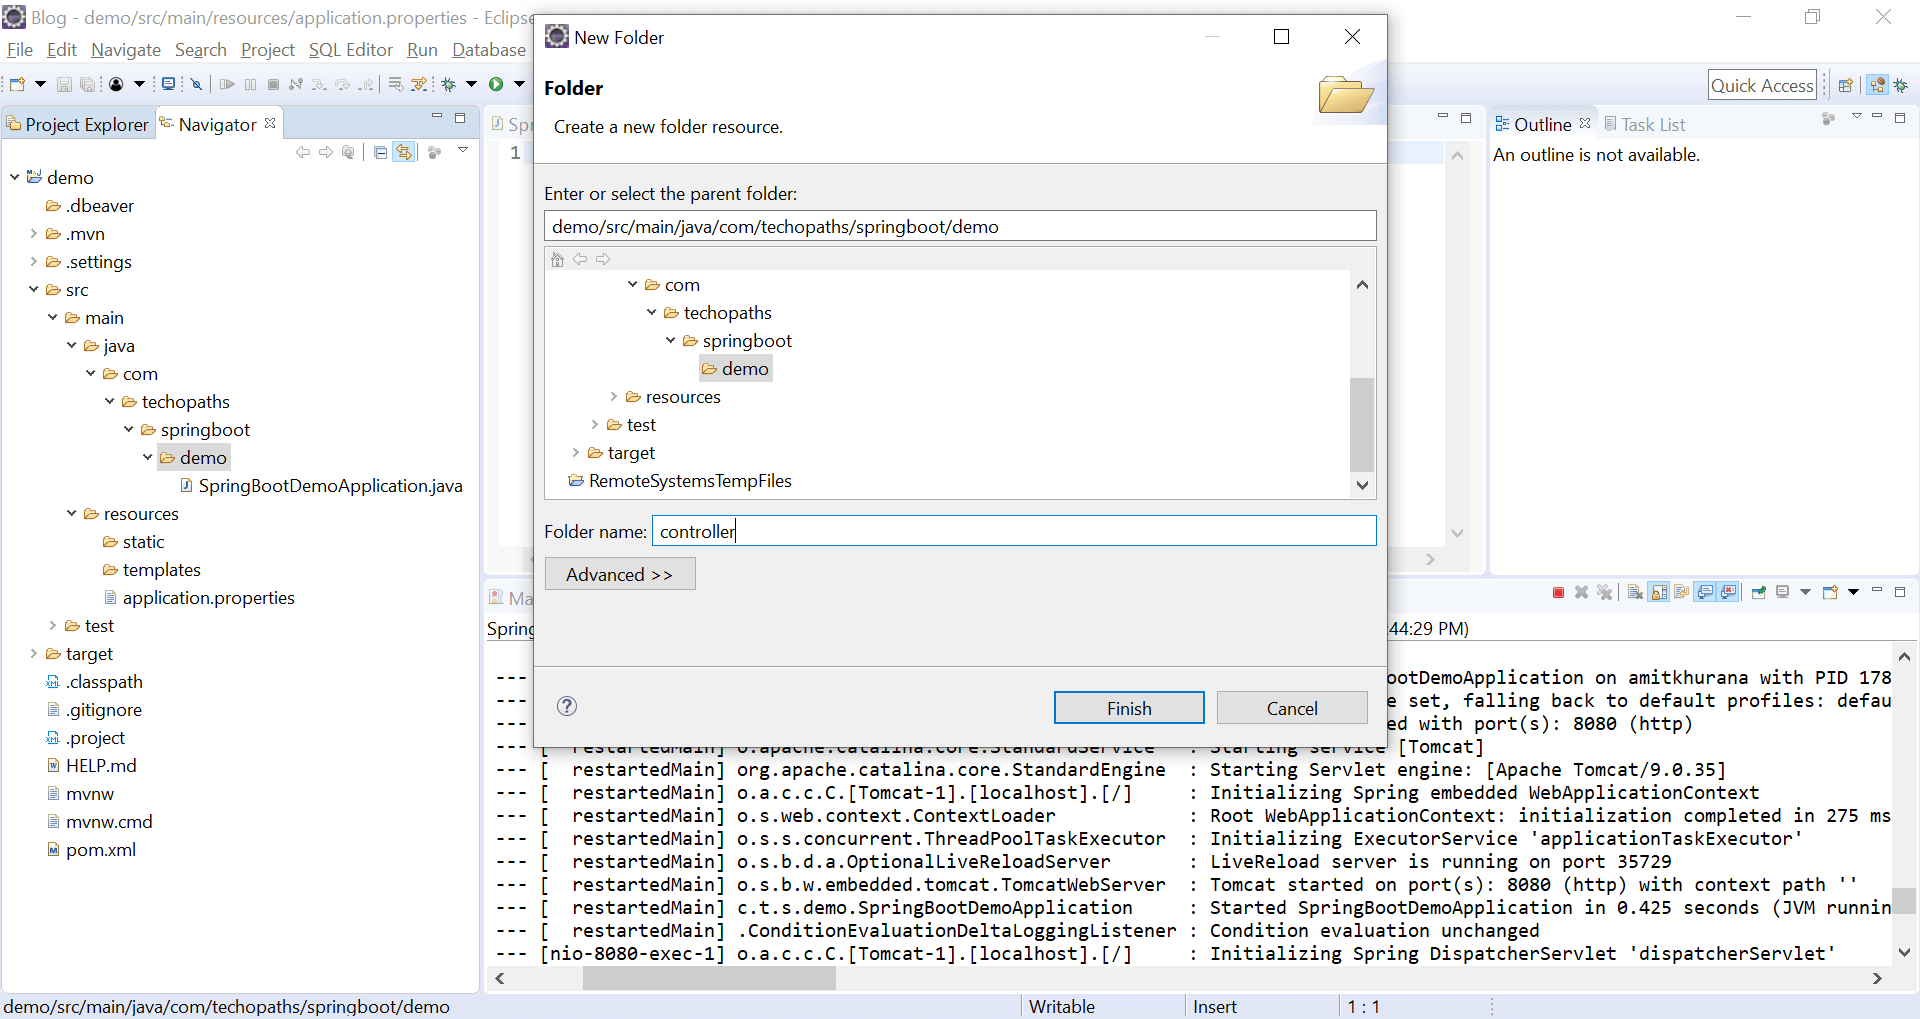
We have successfully create a new package com.techopaths.springboot.demo.controller
Step 2:
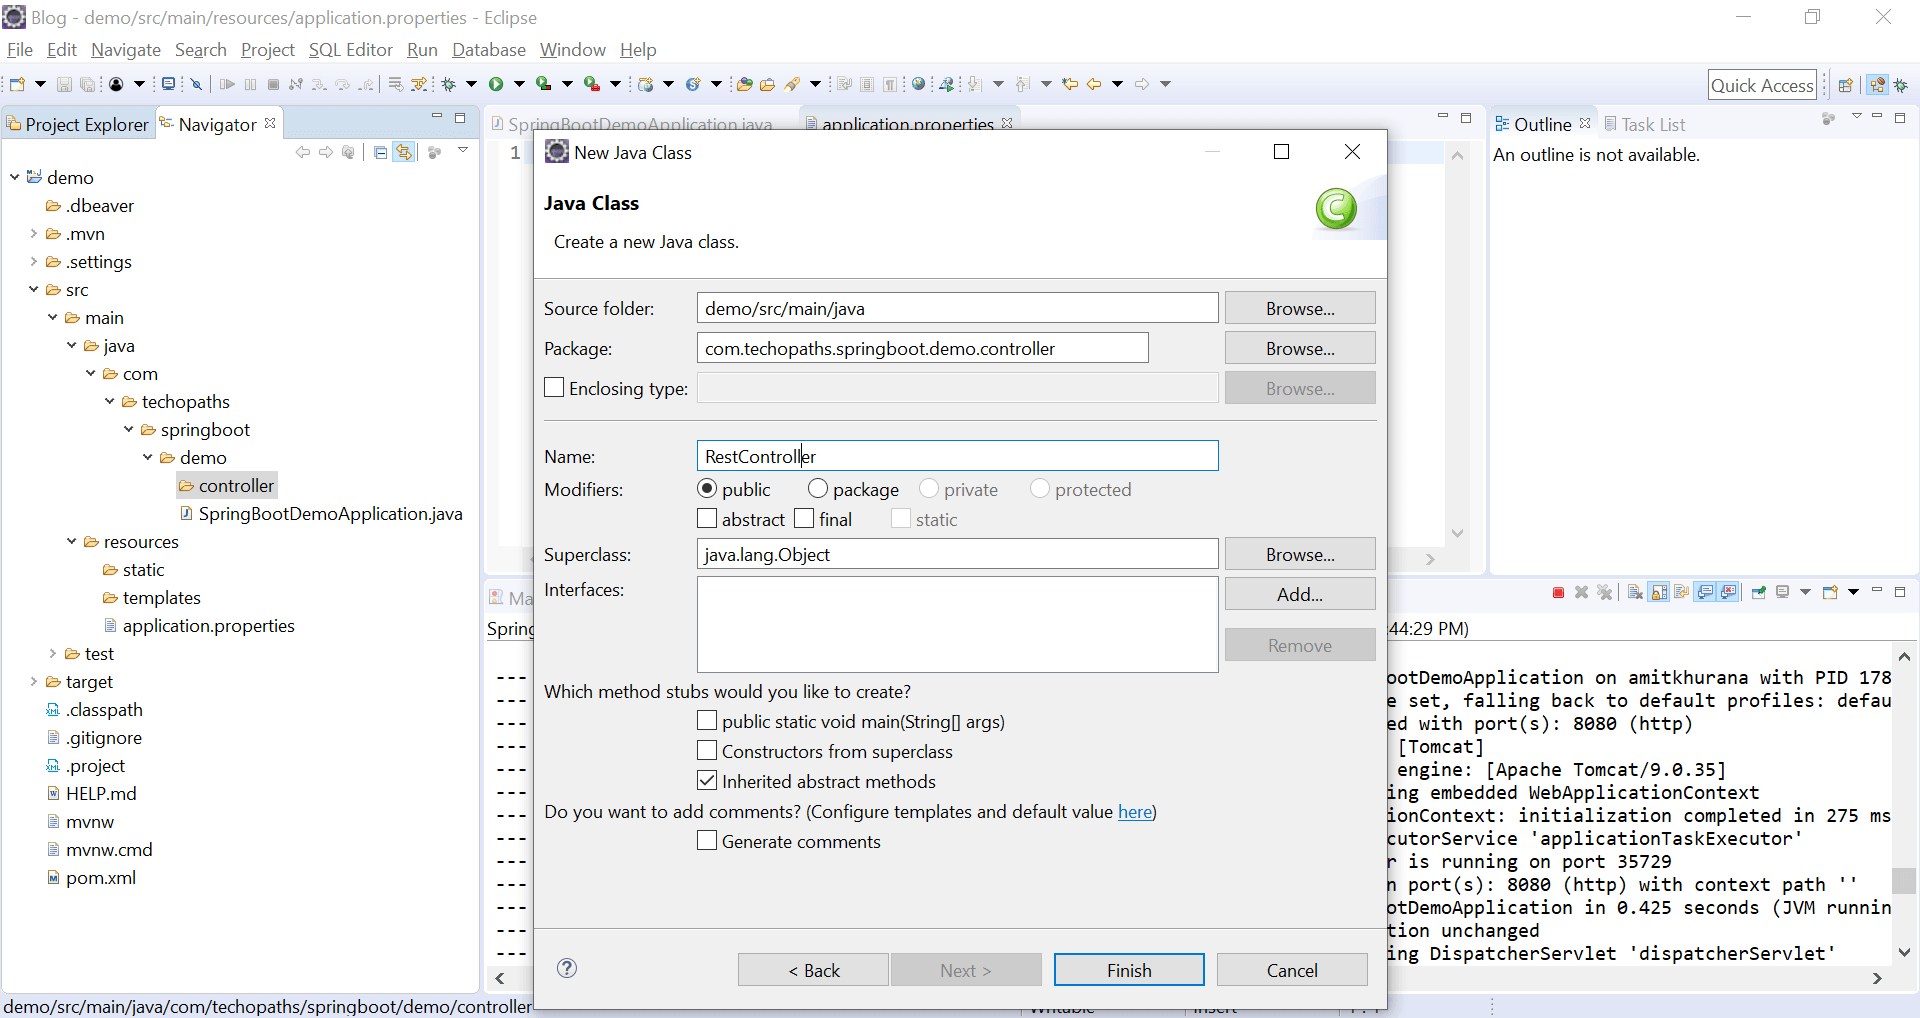
Now we will create a new Java class
Follow the below steps:
- Create a new class
RestControllerinside the packagecom.techopaths.springboot.demo.controller - Right-click on controller folder -> new -> class, if the class is not there then click on other and type class.
- Type
RestControlleras name. - Click on the finish.
Step 3:
We have successfully created our Java class and we will write below code.
package com.techopaths.springboot.controller;

import org.springframework.http.HttpStatus;
import org.springframework.http.ResponseEntity;
import org.springframework.web.bind.annotation.GetMapping;

@org.springframework.web.bind.annotation.RestController
public class RestController {

	@GetMapping("/message")
	public ResponseEntity<String> getMessage() {
		return new ResponseEntity<>("Hello world", HttpStatus.OK);
	}
}
@RestController: Spring 4.0 introduced @RestController, a specialized version of the controller which is a convenience annotation that does nothing more than adding the @Controller and @ResponseBody annotations. By annotating the controller class with @RestController annotation, you no longer need to add @ResponseBody to all the request mapping methods. The @ResponseBody annotation is active by default.
This annotation indicates that a particular class serves the role of a controller. The dispatcher scans such annotated classes for mapped methods and detects @RequestMapping annotations.
@GetMapping: This is used to create a mapping to function with a path. The request type here is GET. Specifically, @GetMapping is a composed annotation that acts as a shortcut for @RequestMapping(method = RequestMethod.GET).
Now run the application.
Enter http://localhost:8080/message in your browser.

You will see the message.
We have successfully created the Rest Controller.
To download this application click here.
Stay tuned for more articles 🙂


