


In previous article we learned what is Google Analytics.
In this article we will setup Google Analytics on WordPress.
Step 1: Creating an account.
Open https://analytics.google.com from your browser and sign in with your Google account. If you do not have any existing account click on Create new account.
After signing in you will see below screen. Click on start measuring.

Step 2: Adding a website.
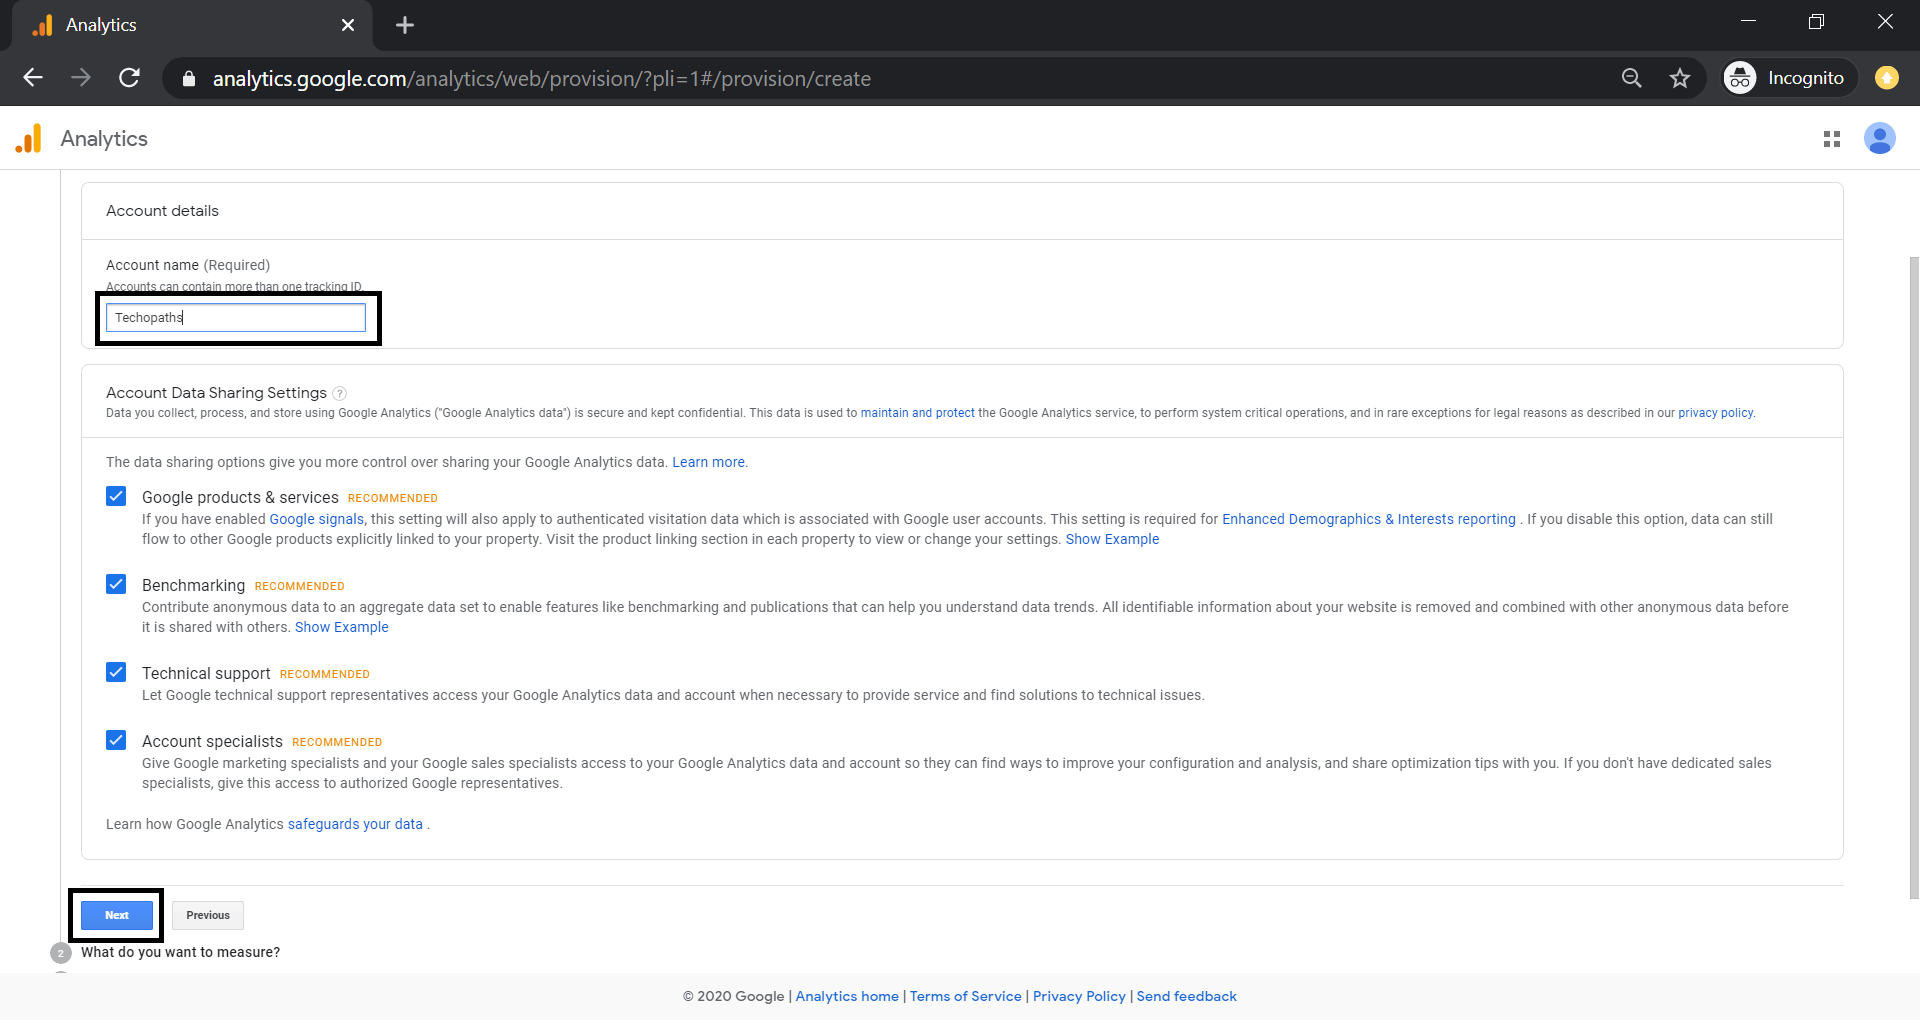
Enter the account name and click on next.
Select web as we want to measure traffic on our website. Click on next.

Now comes the important part, here we have to enter our website details.
- Website Name: Enter your website name.
- Website Url: This should be the domain of your website. Select https if your website has an SSL certificate.
- Industry category: Select the relevant category.
- Reporting Time Zone: You should use the timezone that is most relevant to your website/business.
Click on create.

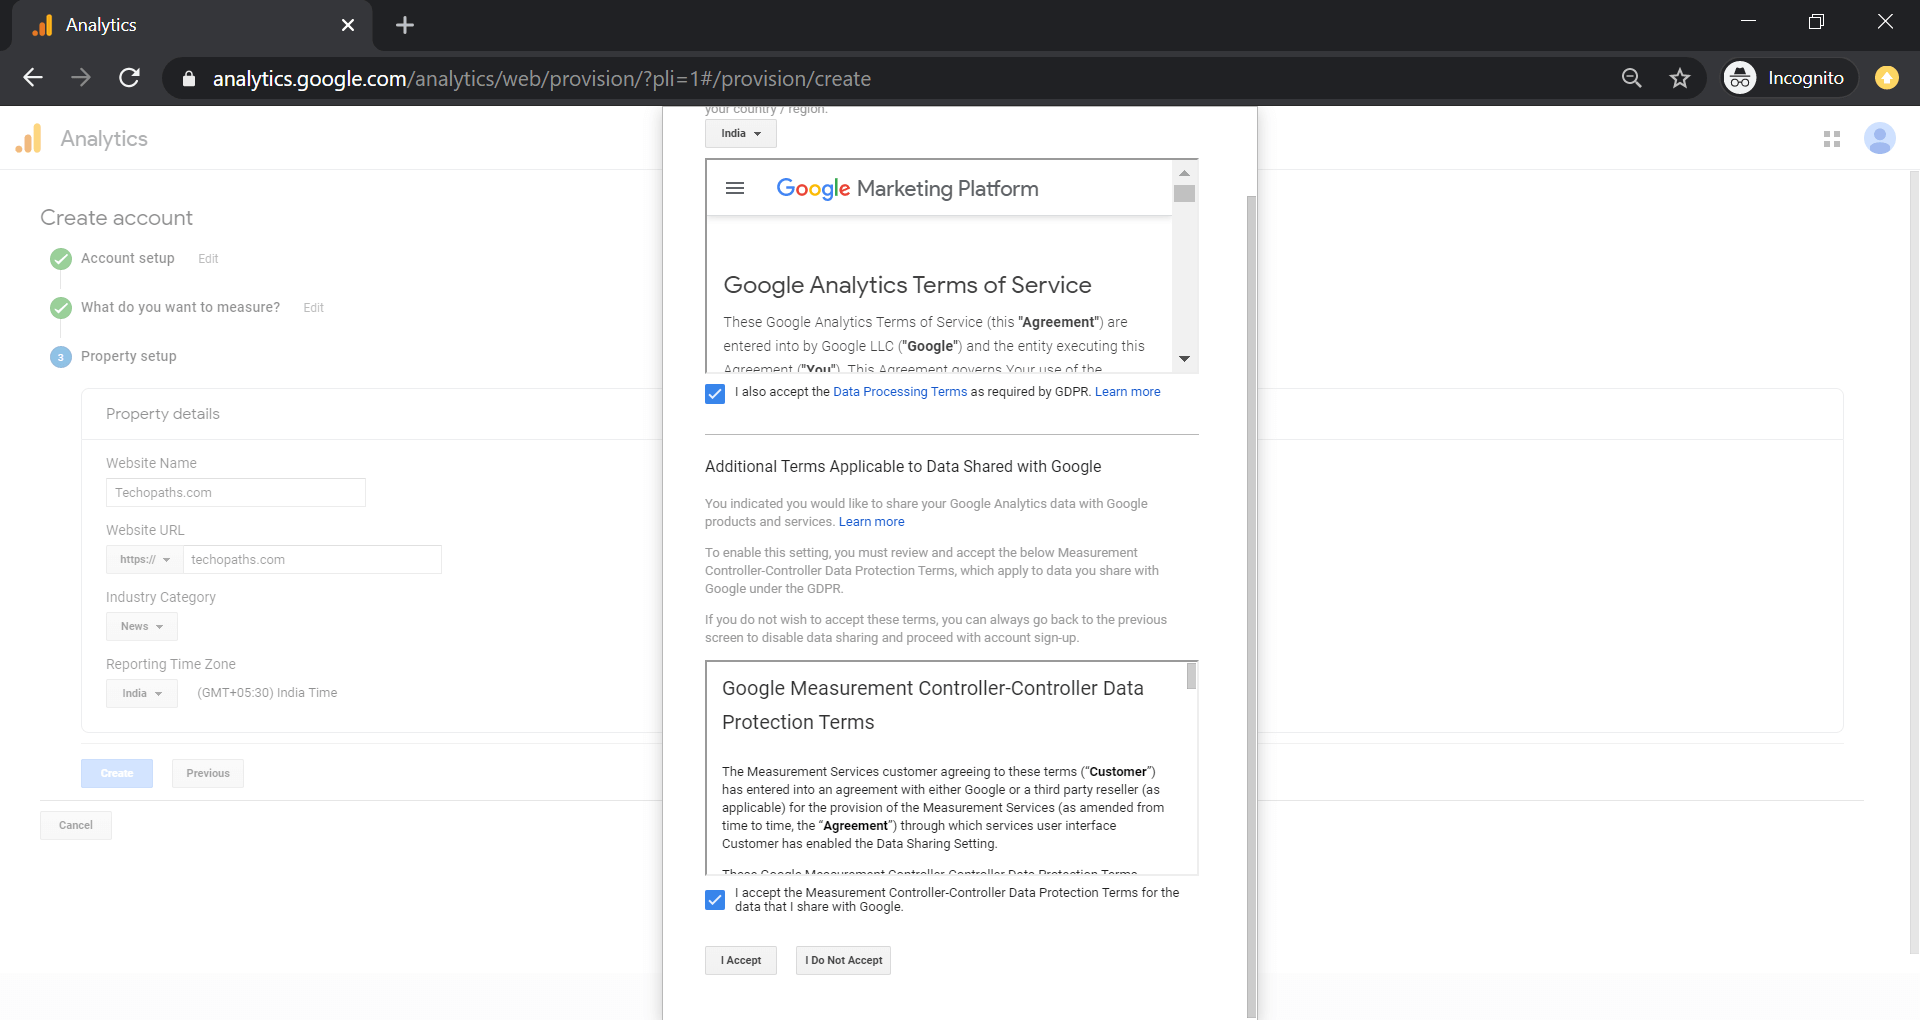
Read and accept the agreement.
Step 3: Adding tracking code on our website.
After redirection, you will see the tracking code
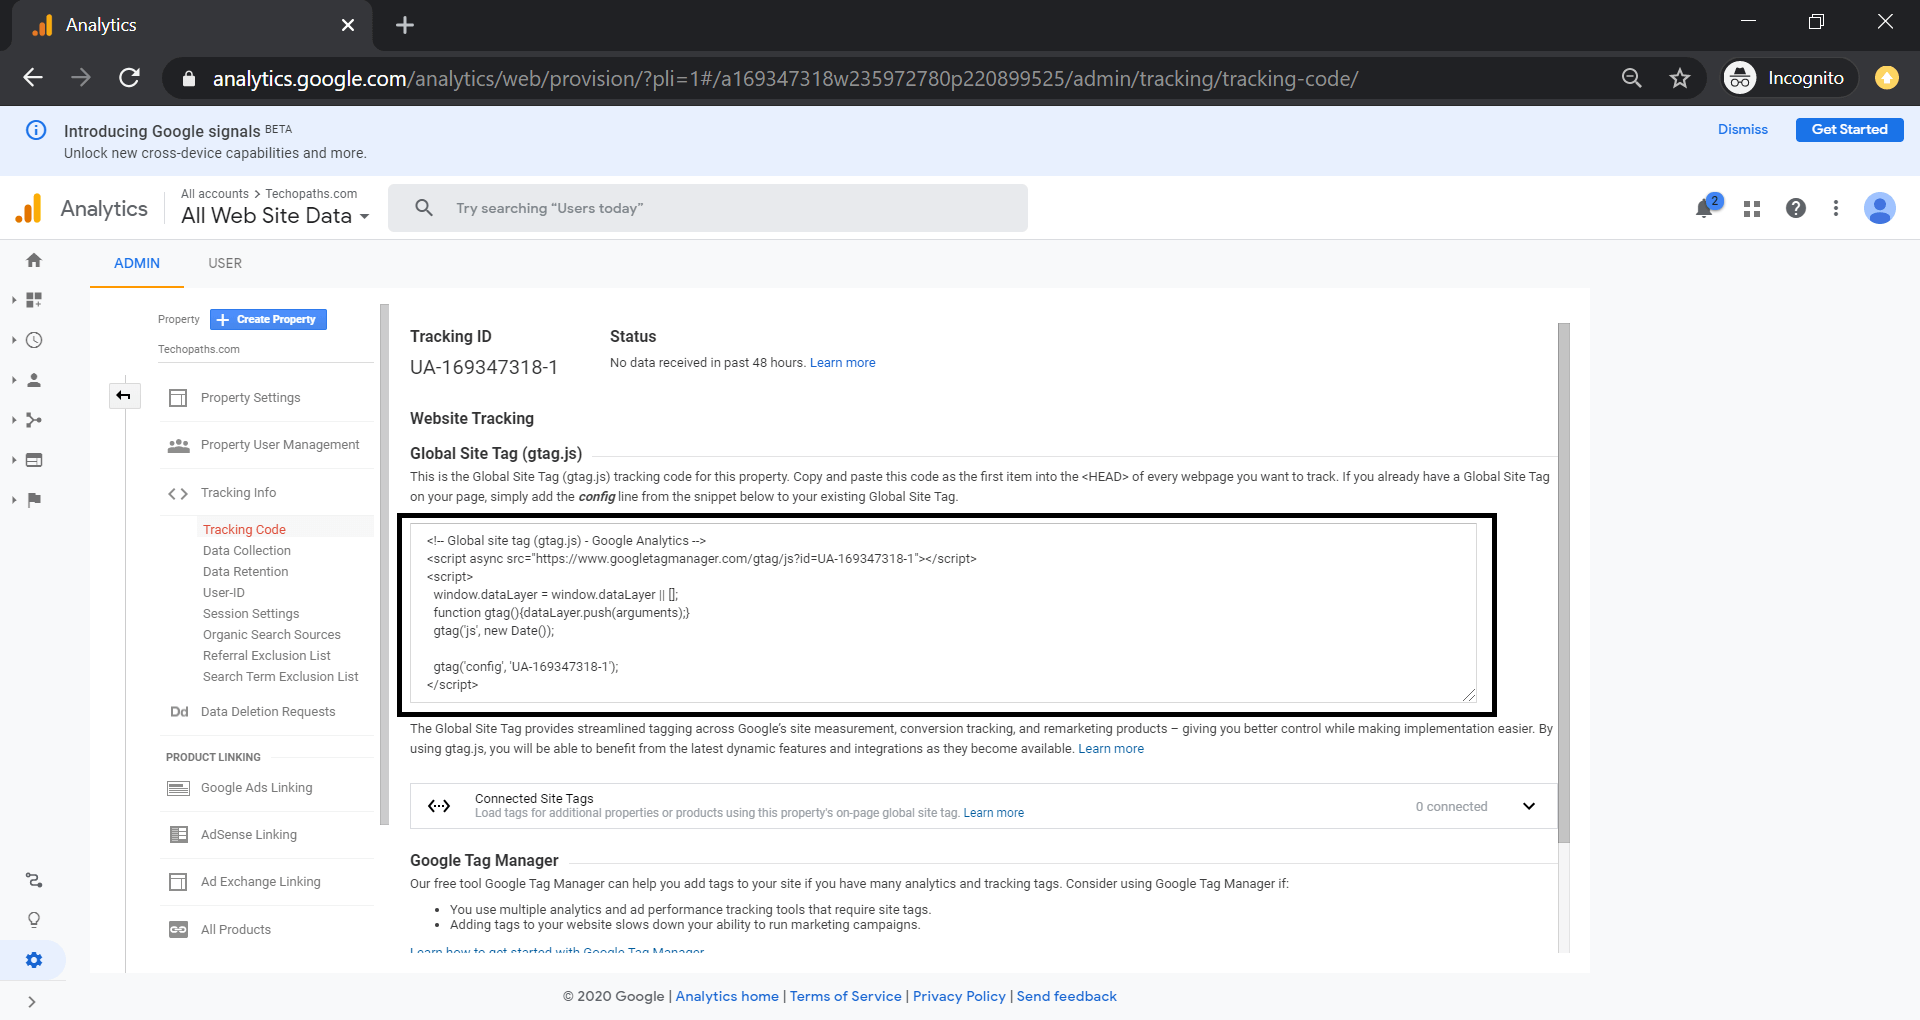
Copy the code. Now we have two option to integrate this into our website.
- Paste this code as the first item into the <HEAD> of every web page you want to track.
- Install Site Kit by Google plugin.
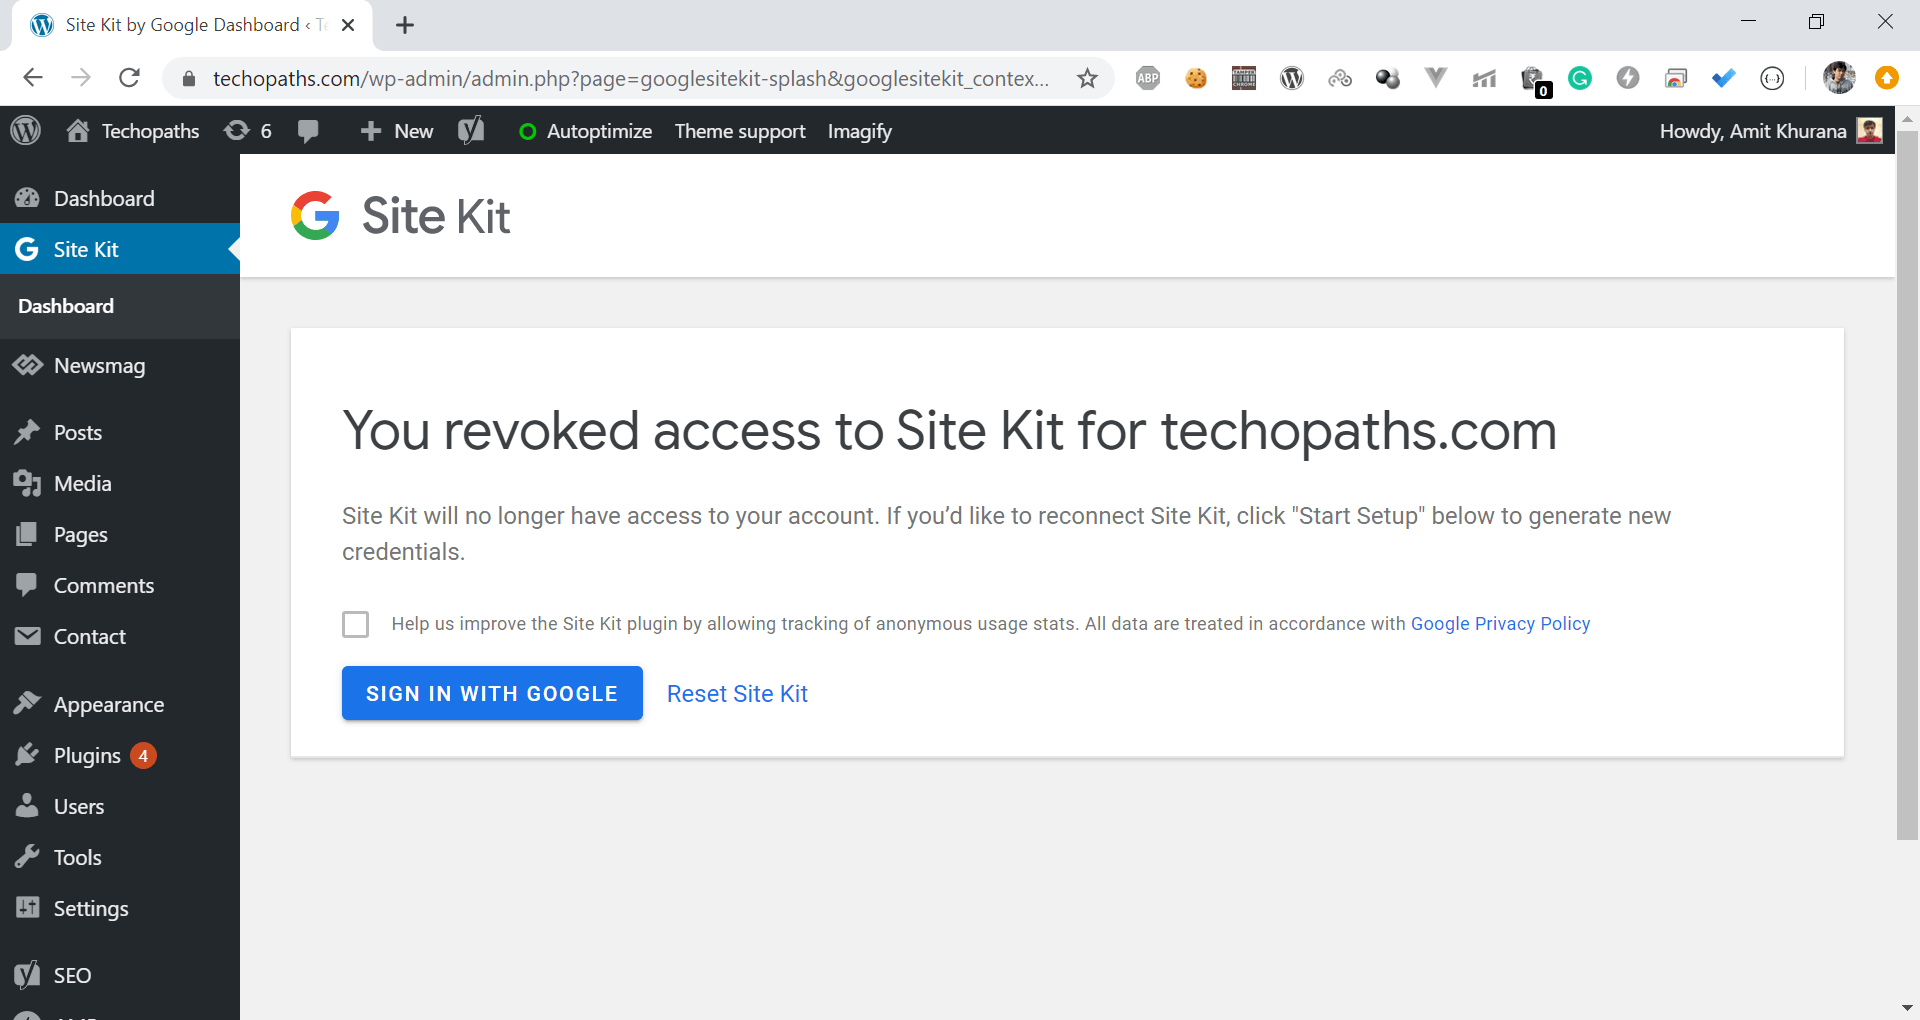
Step 4: Using Site Kit by google plugin.
Login to your word press website and follow below steps
- Dashboard -> Plugins -> Add new
- Type Site Kit by Google
- Click on Install Now -> Activate.
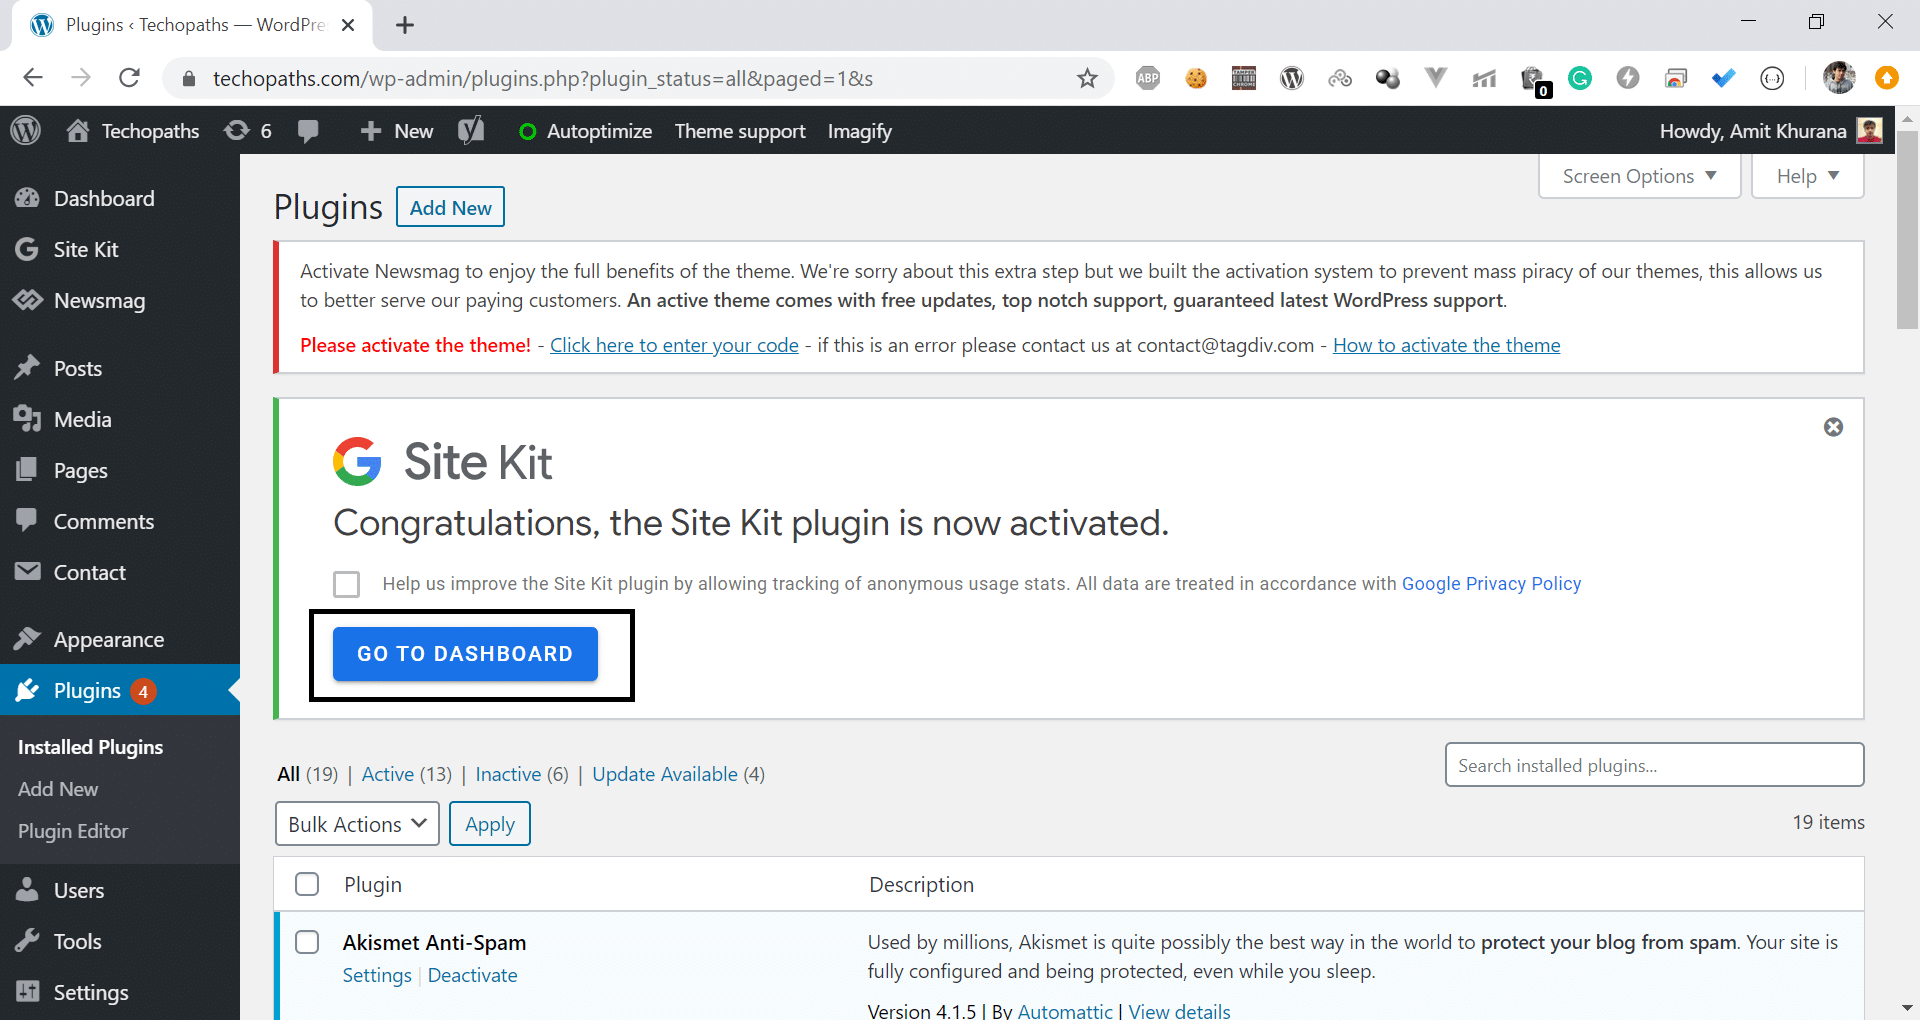
- Once the plugin is activated click on Go to Dashboard.
- Sign in with the same account that you have used for Google Analytics.

After signing in you will be able to see the metrics.

If you have any question, you can leave that in comment section.
Stay tuned for more articles 🙂


