In this article we will learn how to create a Spring boot application using Spring Initializr.
For this you need to have:
- Maven 3.0+ is as your build tool.
- Eclipse IDE (You can use any)
- JDK 1.8+
Step 1:
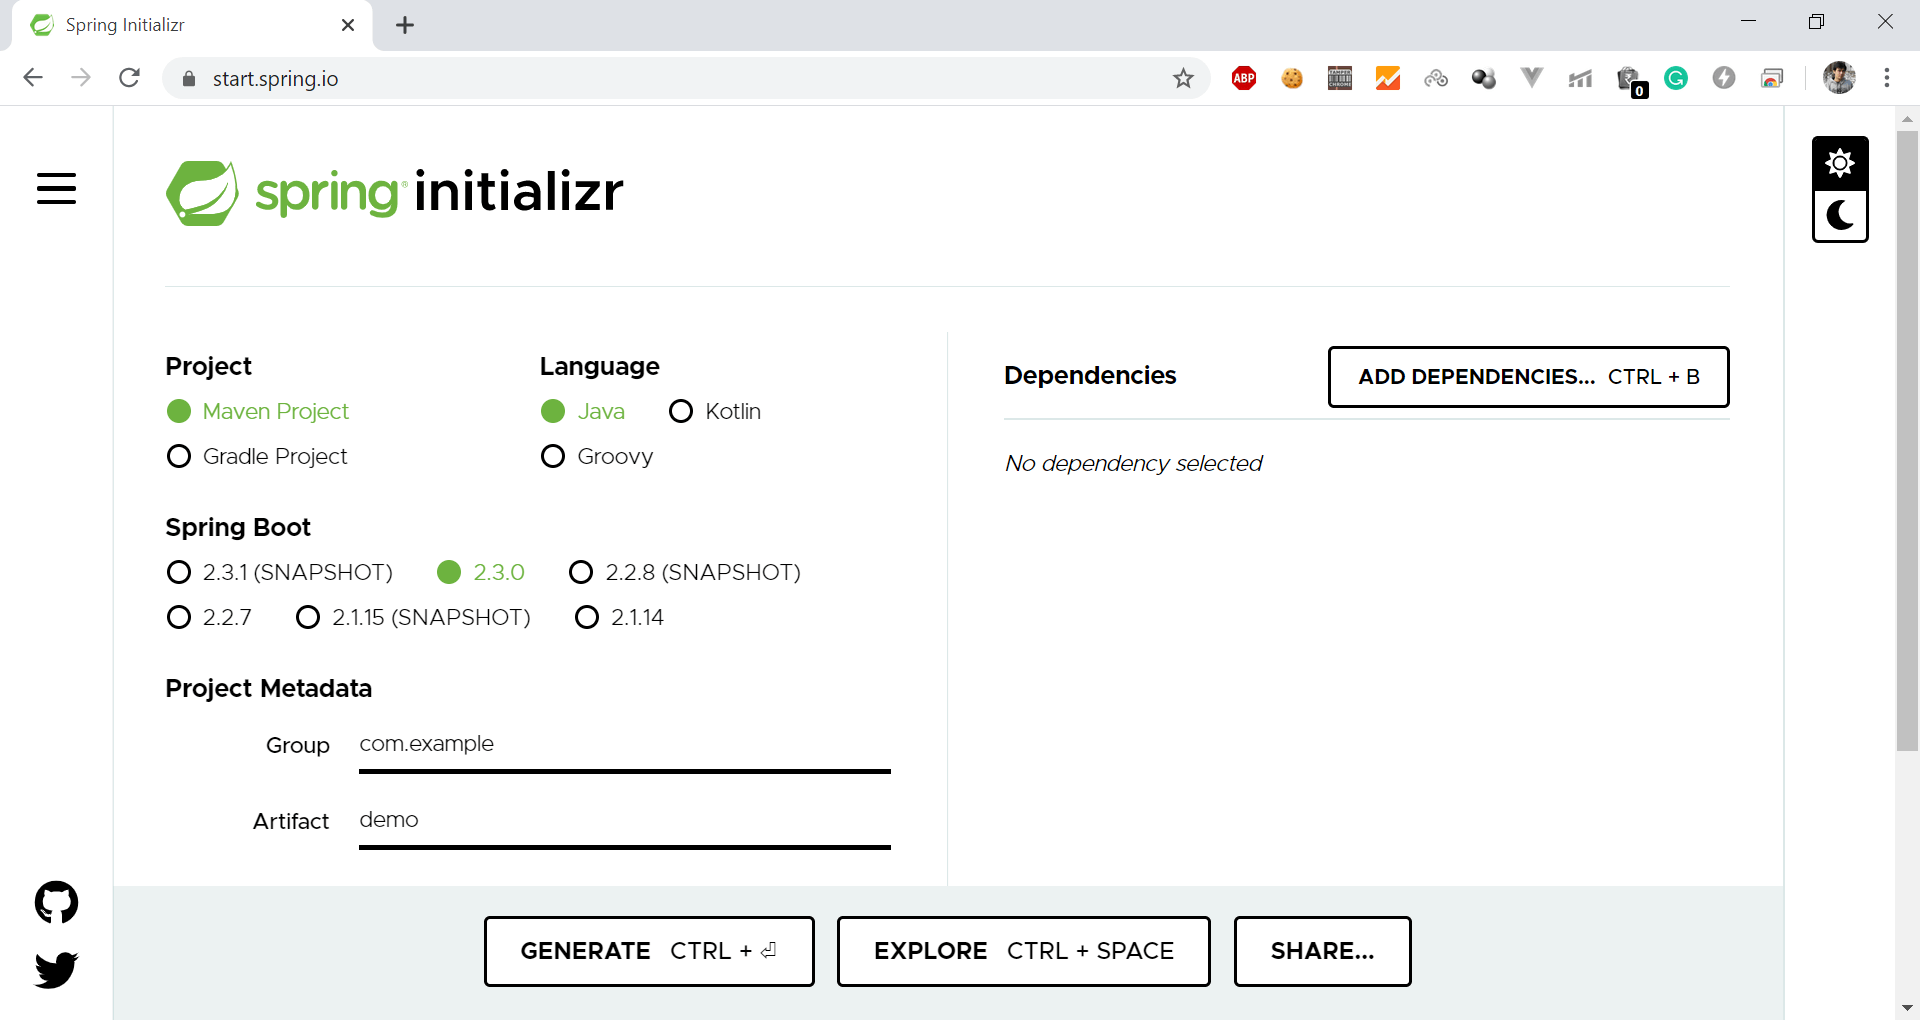
Go to Spring Initializr website https://start.spring.io
Step 2:
Once you will open the website you will see a lot of options.
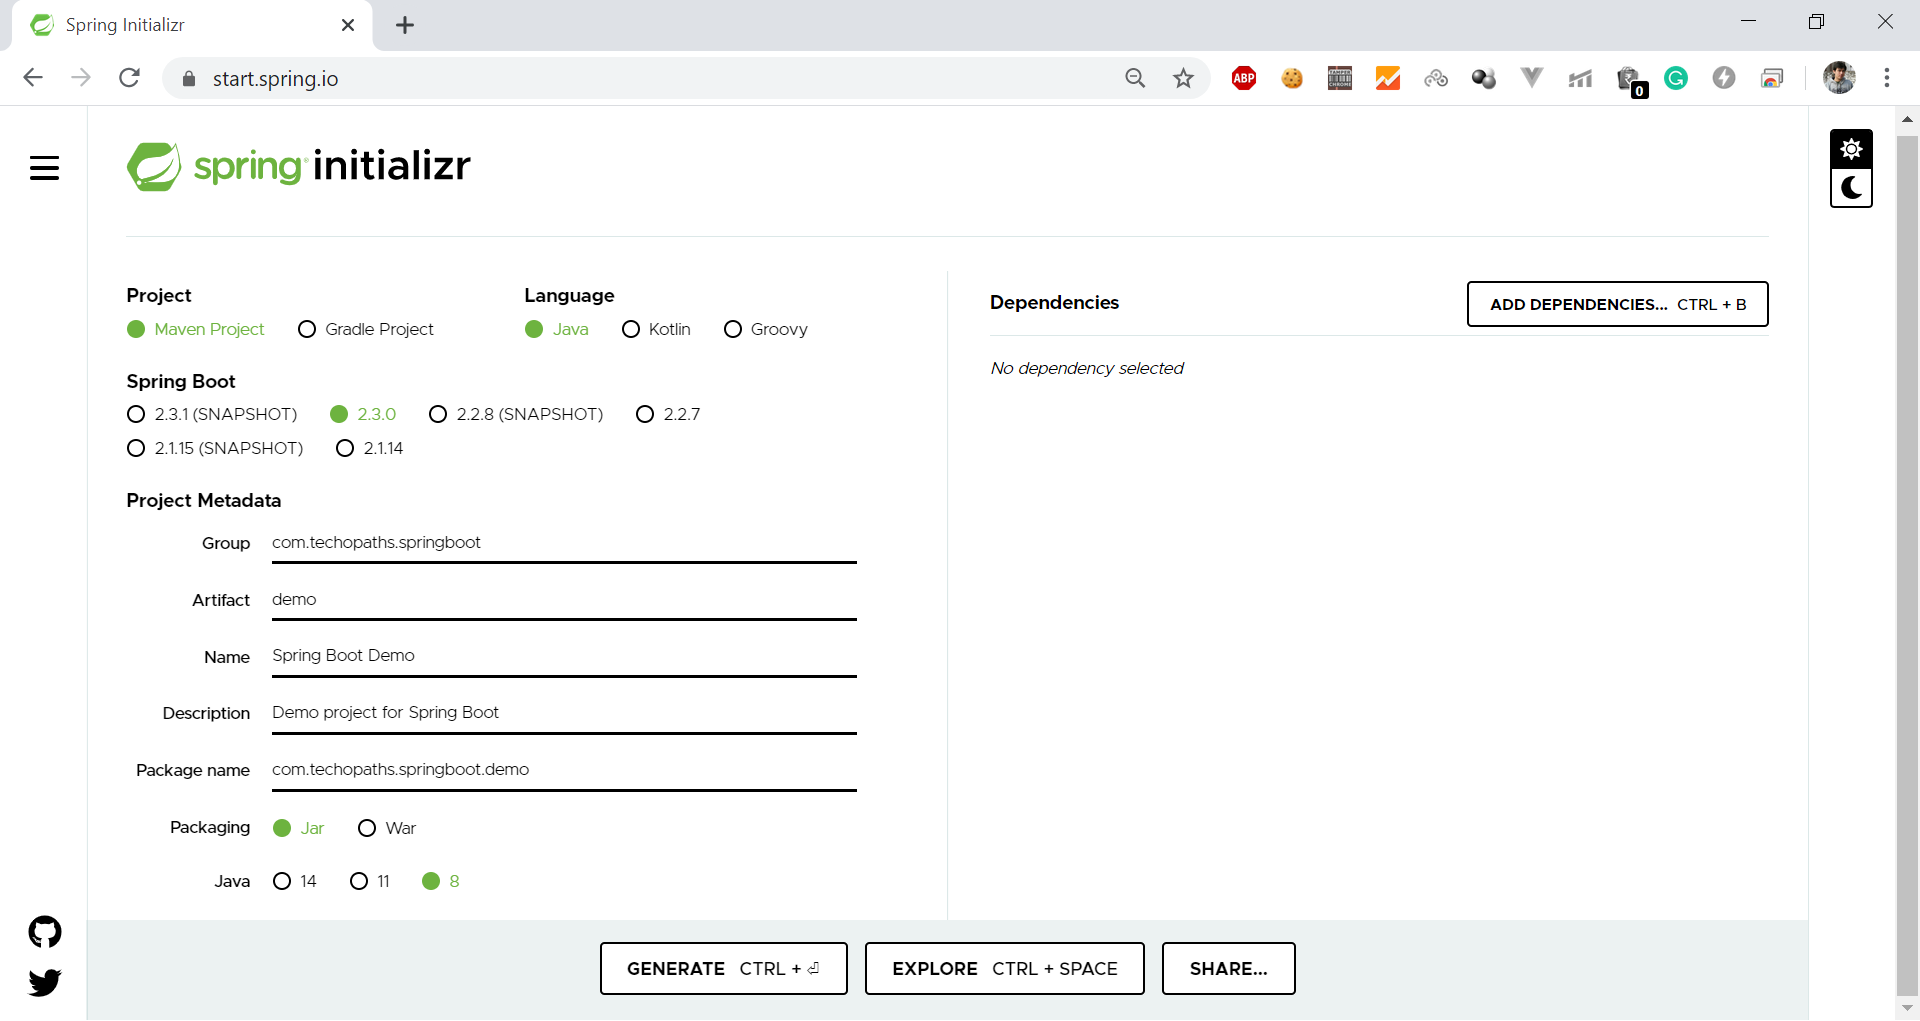
As you can see in above image
- Select Maven Project as your project.
- Select Java under language.
- Spring boot version 2.3.0 (or you can select any version).
- Under Project Metadata type the following
- Group:
com.techopaths.springboot - Artifact:
demo - Name:
Spring Boot Demo - Description:
Demo project for Spring Boot - Package name:
com.techopaths.springboot.demo
- Group:
- Jar for packaging.
- And Java version 8.
In next step we will provide the dependecies which are required in our project.
Step 3:
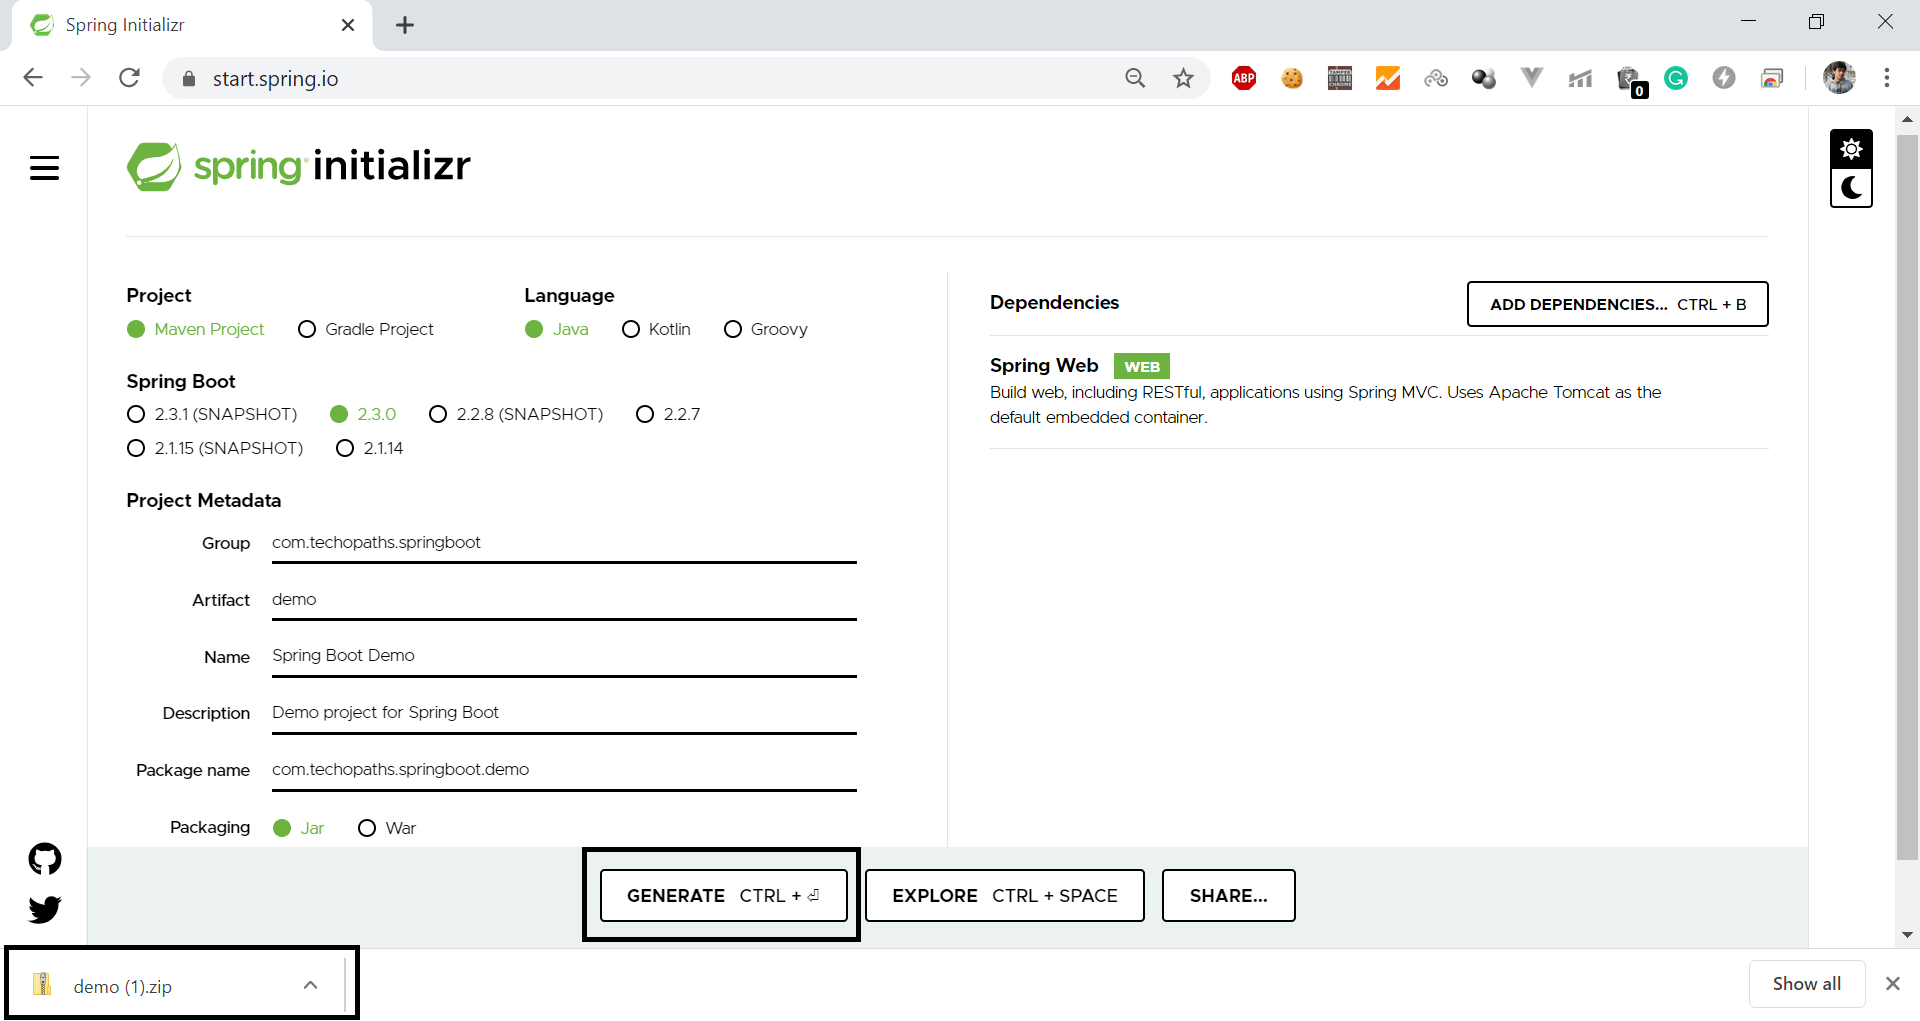
Spring initializr also provide us the option to specify the dependencies. To add a dependency click on Add Dependencies. A popup will open.
As we are building a web application so click on Spring Web as shown in below image

Step 4:
We have provided all the information.
Now click on Generate. This would download a ZIP file to your local machine.
Step 5:
Our final step is to import the project in Eclipse IDE.
Follow the below steps:
- Open your Eclipse IDE.
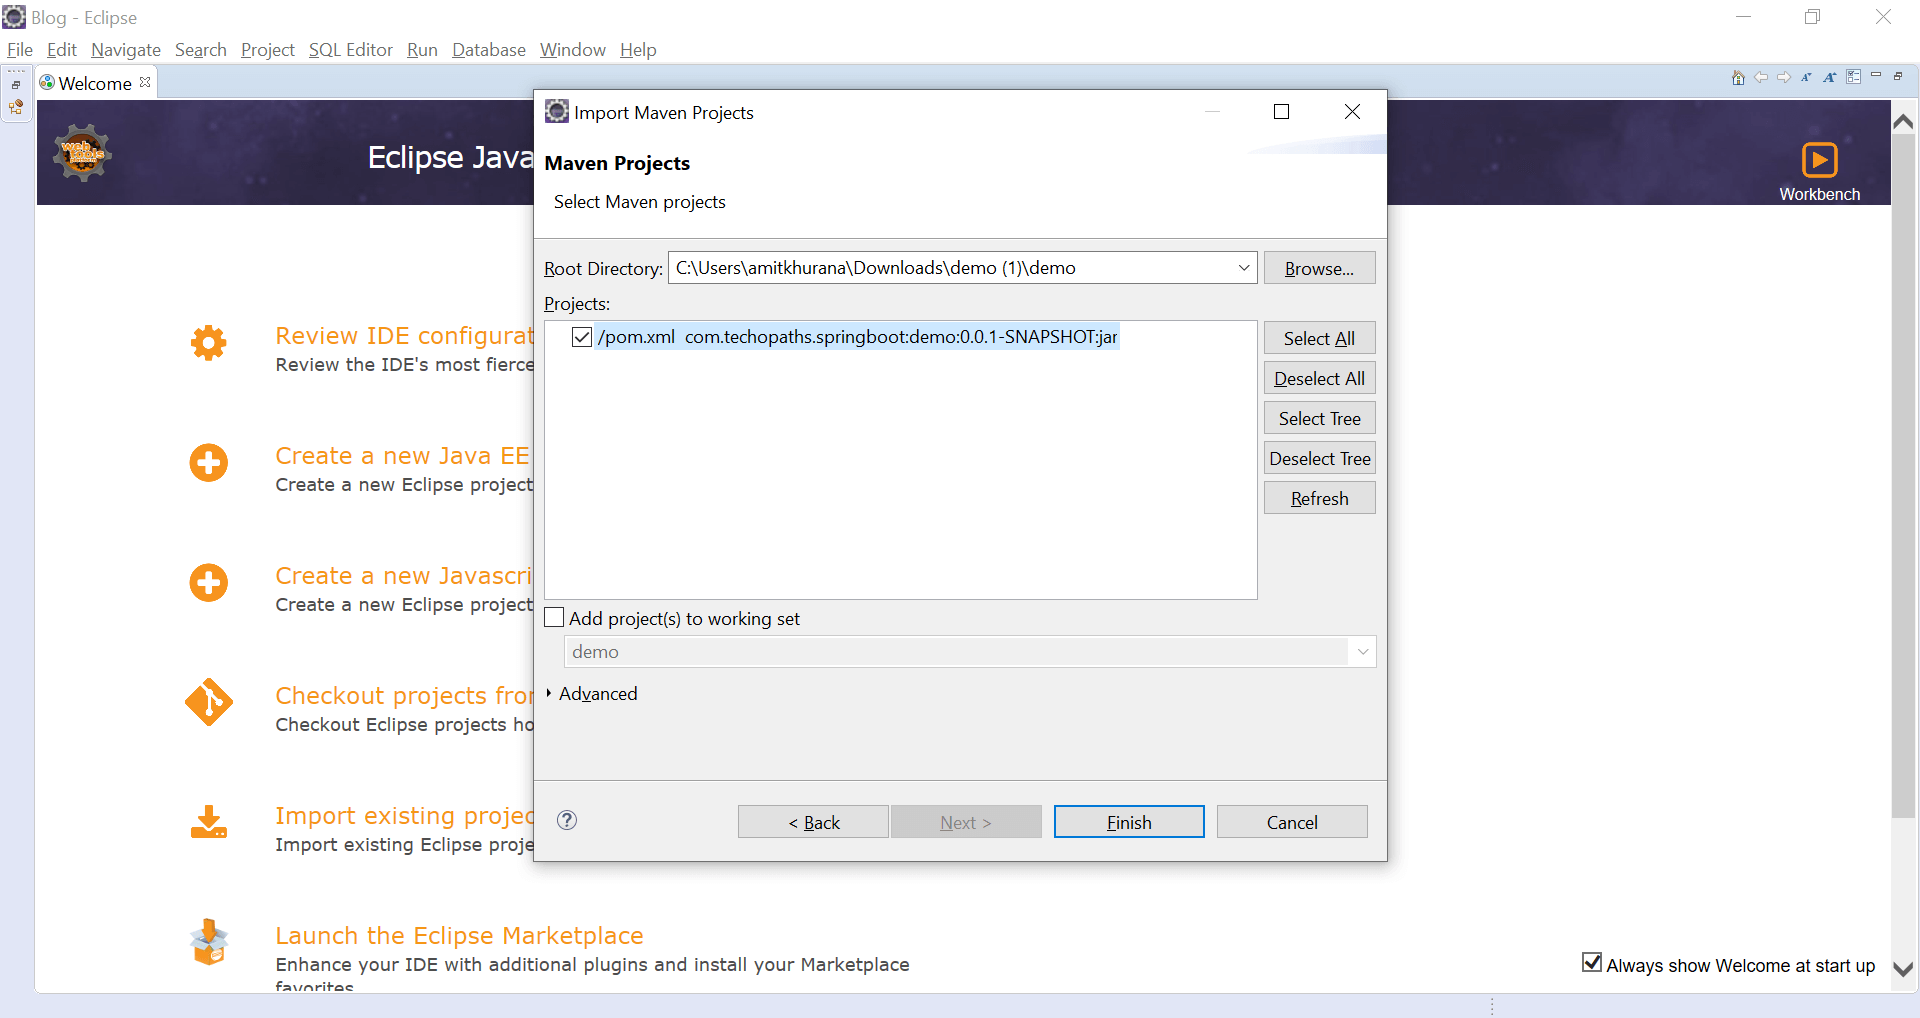
- Click on File-> Import -> Existing Maven Projects-> Click on next.
- Click on Browse and select the project location -> Click on Finish.
- The project will be imported and dependencies will be downloaded.

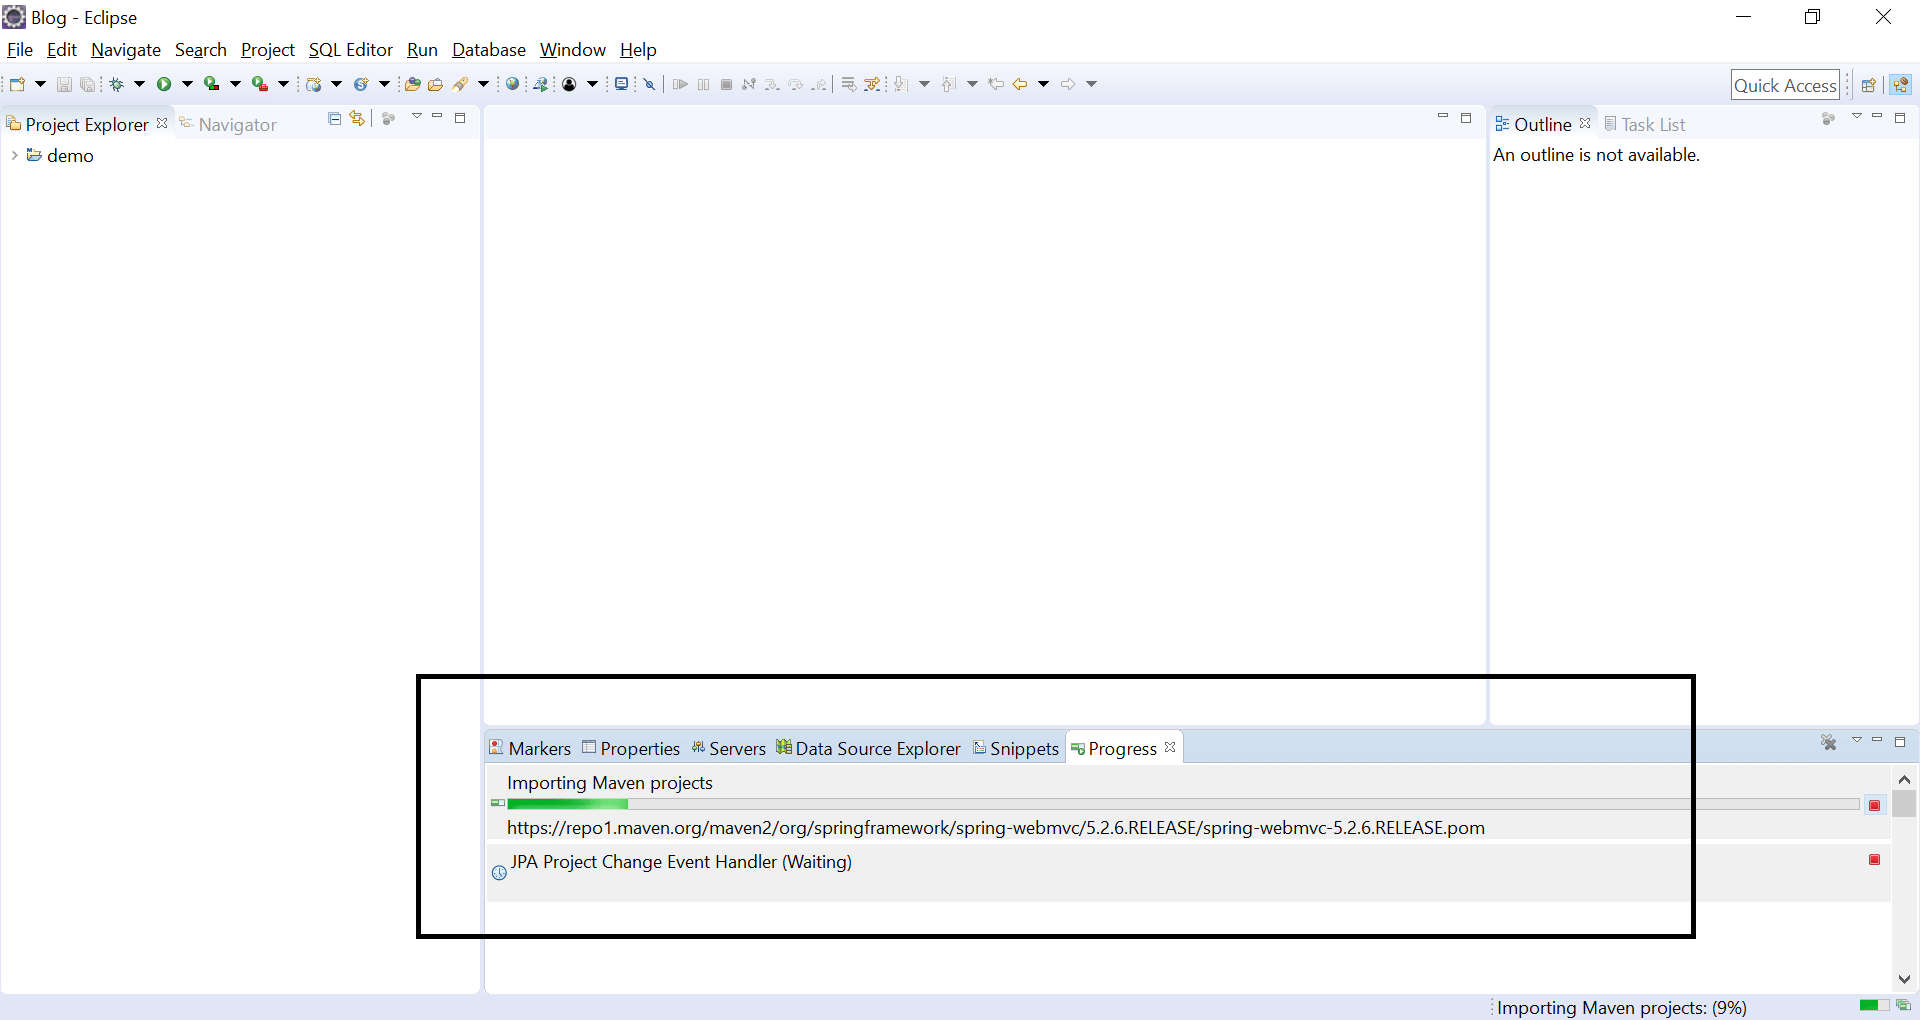
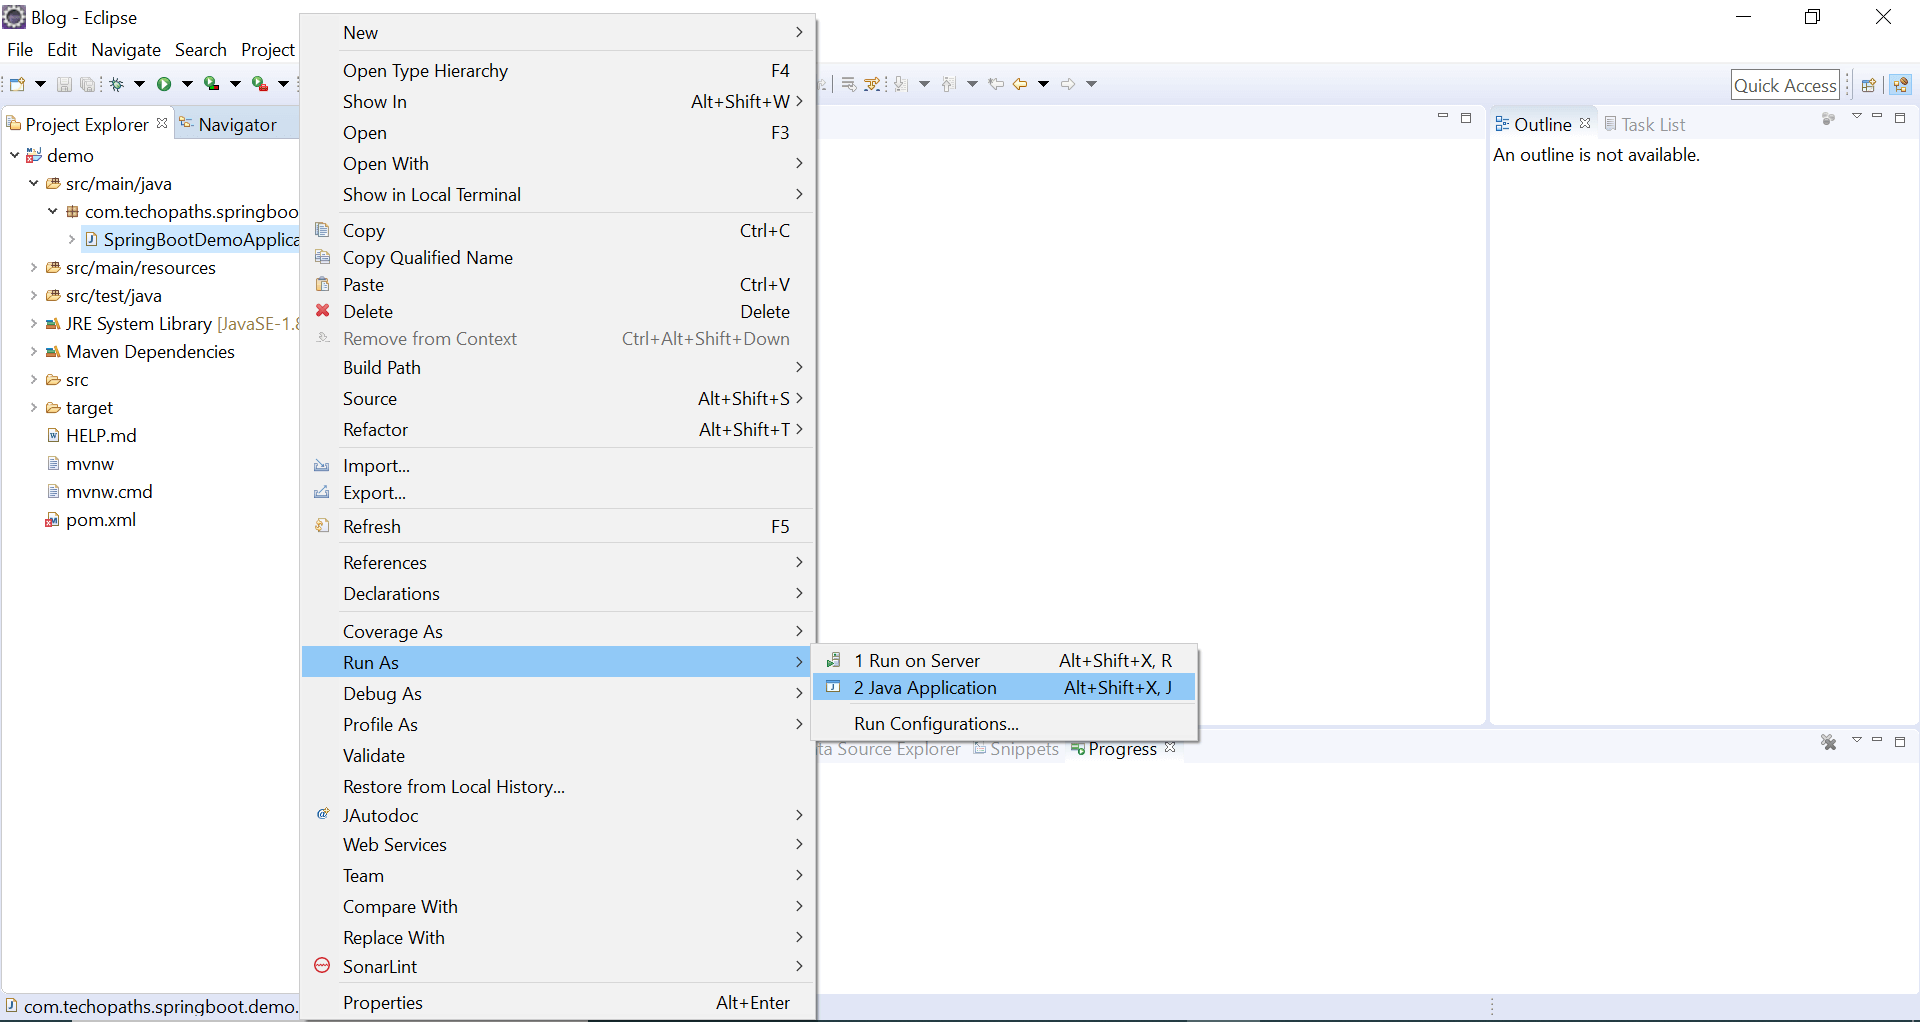
To run this application right click on SpringBootDemoApplication.java file and then click on Run as-> Java Application.
To open the application, enter http://localhost:8080 in your browser.

As there is no controller so we are getting this error.
So, by far we have learned how to create a new Spring project using Spring Initializr.
To download this project click here.
In next article we will learn more about Spring framework.


